how to actually look good in photos (no, it’s not just luck)
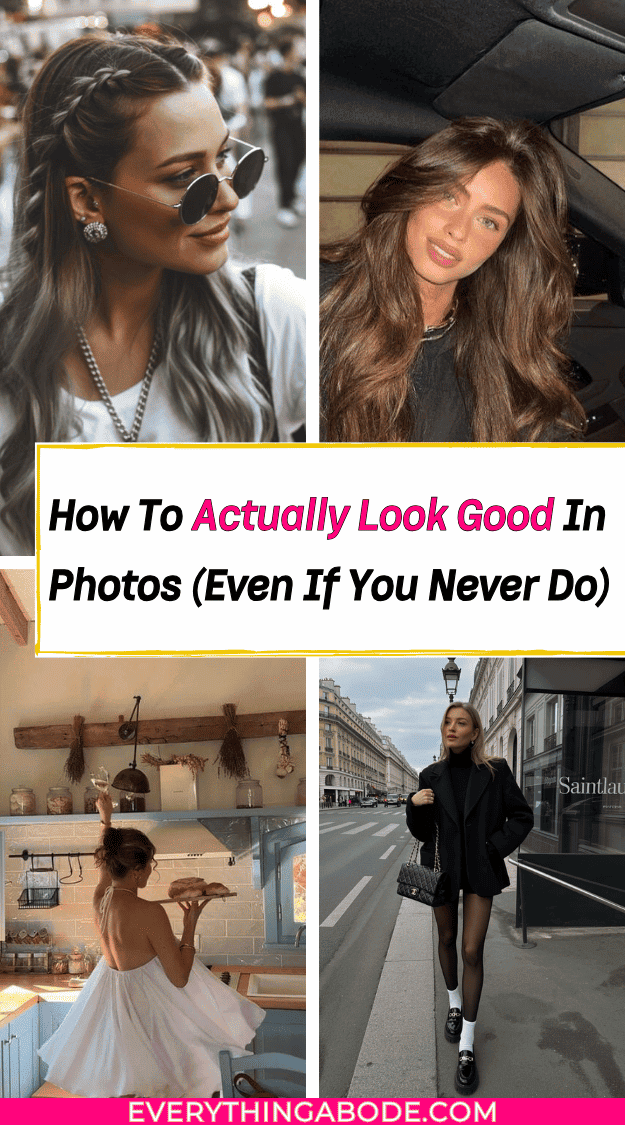
Okay, we all know this… that some people just always look great in their photos no matter what they are doing, drinking, or eating, and you and I, well, it is what it is.
BUT, it really doesn’t have to be. Maybe those super photogenic people are reading articles like this and really studying how to pose well, so they keep getting complimented on how great and cute they always look? Or maybe, just maybe, they are just already in tune with how they look in photos and do it on repeat every single time.
Who knows, but what’s true is that YOU can look fabulous in photos if you really want to.
No more gatekeeping these poses anymore. Today we will uncover the best ways to look and pose great in photos so that you can finally receive compliments on how well you look.
And once you learn them, you can’t unsee them!!
These posing techniques are the best of the best, and you’ll have them on lockdown if you try a few for yourself.
So here’s everything pulled from actual photographers and models, broken down in a way that finally makes sense.
♥ quick little photo truth:
You do not need to become a different person to look better in photos. Most of it comes down to small things like where the camera is, where the light is, what your arms are doing, and whether your body looks relaxed or trapped. Once you learn those little things, photos feel way less annoying.

1. the angle is everything
Don’t let anyone take a picture of you from below. When the camera is looking up at your chin and nose, it’s just awful for everybody. You want the camera positioned slightly higher than your face, so your chin naturally lifts up toward it. As a result, you suddenly have a more defined neck and jawline. This one change alone is responsible for so many excellent pictures. And if you’re taking your photos, just prop your phone up higher than you think you need to. much higher than usual.
Try this first:
Take one photo from chest height, one from eye level, and one slightly above your face. You will typically notice the difference immediately. The slightly higher one almost always looks cleaner, softer, and more flattering.
- ♥ Hold the camera slightly above your eye level.
- ♥ Keep your chin lifted toward the camera, not tucked into your neck.
- ♥ Step back a little if the phone is too close to your face.
- ♥ Take a quick test shot before you commit to the angle.
2. Lean forward (yes, really).
Here’s the one that sounds insane but works every time. Lean forward toward the camera. I know. When you do that, your face separates from the rest of your body, and the eyes become the focus of the whole shot, which is what you want because eyes are what people look at first. It feels like you’re tipping over, and it looks incredible, so just do it. Pair this with the camera being slightly above you, and you have already solved like 80% of your photo problems.
Why this works:
The camera notices whatever is closest to it. So when you lean your face forward a tiny bit, your eyes and face become the focus instead of everything looking flat. It feels dramatic when you’re doing it, but it reads so much softer in the actual photo.
- ♥ Lean from your waist instead of rounding your shoulders.
- ♥ Keep your chest open so you still look relaxed.
- ♥ Think “face toward the camera” instead of “body hunched forward.”
- ♥ Pair it with a slightly higher camera angle for the best result.

3. what to do with your arms
People always press their arms flat against their sides, and that actually squishes the arm outward and makes it look bigger than it is. so create a little air. Hold your bag, touch your hair, hand on your hip, or anything. Just don’t clamp down. Even a slight bend in the elbow makes a huge difference and honestly just looks more relaxed and human.
the easiest fix:
Give your hands something to do. The second your hands have a job, your whole body looks less stiff. It does not need to be a big pose either. Tiny movements usually look better.
- ♥ hold a coffee, purse, sunglasses, phone, or jacket.
- ♥ Place one hand lightly on your hip or waist.
- ♥ Touch your necklace, sleeve, bag strap, or hair.
- ♥ Keep a little space between your arms and your body.
- ♥ Bend your elbow slightly so your pose feels more natural.
4. use your hair
Touching your hair is honestly one of the easiest tricks because it’s a movement you already do in real life, so it reads as natural and candid on camera. A little root fluff or playing with the ends gives your hands a job and makes the whole photo feel more alive. If you have longer hair, pulling it to one side also frames your face in a really flattering way and gives the photo some shape.
cute little posing note:
Hair is basically a built-in prop. It softens the photo, frames your face, and gives your hands something natural to do so you do not end up standing there wondering where your limbs belong.
- ♥ Tuck one side of your hair behind your ear.
- ♥ Fluff your roots before the photo.
- ♥ Pull your hair over one shoulder.
- ♥ Play with the ends if your hands feel awkward.
- ♥ Move your hair between shots so the photos do not all look the same.
5. keep moving
The in-between shots where you’re mid-laugh or just existing are almost always better than the posed ones. Try slowly walking while someone shoots. It feels awkward in the moment and looks completely natural in the photo. The ones where you forgot you were being photographed are the ones you end up loving. So if you’re working with someone, just ask them to keep shooting even between poses. Those are the keepers.
This is why candid photos work:
Your face relaxes when you stop trying to “make a photo happen.” Moving gives the camera something real to catch, which is why walking, laughing, turning, and looking away usually look better than standing frozen.
- ♥ Walk slowly toward the camera.
- ♥ Look down, then look back up.
- ♥ Turn your body slightly from side to side.
- ♥ Laugh on purpose, even if it feels fake at first.
- ♥ Ask the person taking the photo to keep clicking between poses.
6. the neck thing
If your chin stays tucked close to your neck, you’re going to get a double chin regardless of anything else. Gently extending your neck forward and slightly down just sharpens the whole face. It feels weird, and it works every single time. A good way to remember it is to think about pushing your forehead slightly toward the camera. It’s the same idea, but easier to actually do in the moment.
do not make it weird:
this is not about sticking your neck out like a turtle. it is just a tiny forward movement that gives your jaw a cleaner line on camera. small is enough.
- ♥ Push your forehead slightly toward the camera.
- ♥ Lower your chin just a tiny bit.
- ♥ Keep your shoulders relaxed and down.
- ♥ Breathe out before the photo so your face softens.
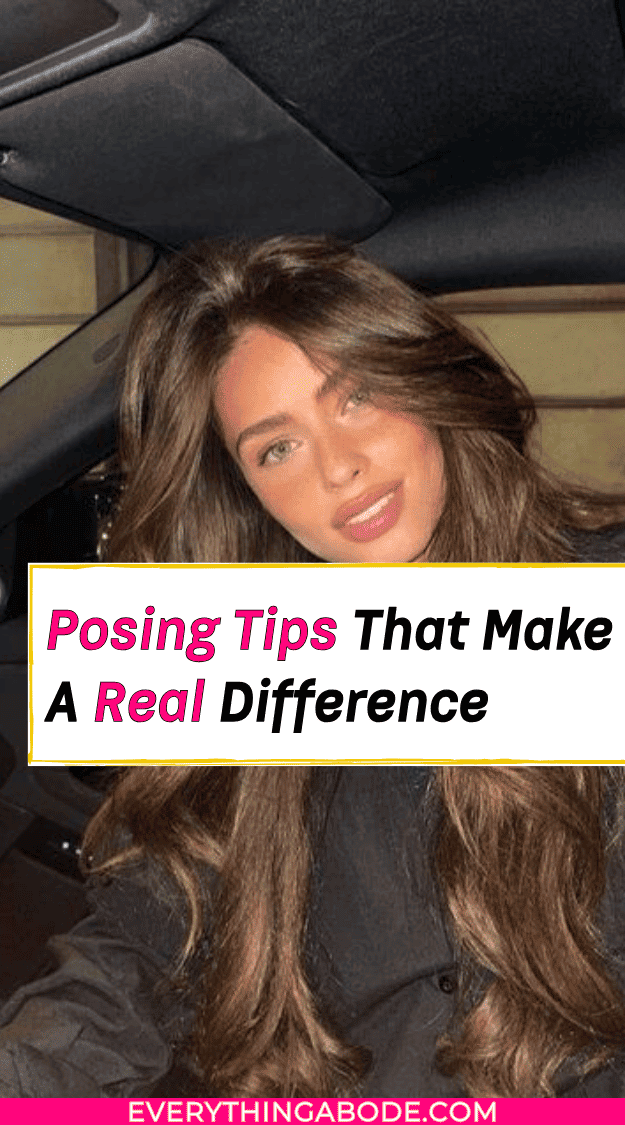
7. know your angles before you show up
Practicing in front of a mirror with a self-timer before you ever get to an actual shoot is one of the smartest things you can do. It lets you see in real time what angles you like and what poses translate well on camera, and you can build from there instead of figuring it out in front of someone. Your phone’s front camera works perfectly for this. Just spend like ten minutes one afternoon, and you’ll know your face way better than you did before.
Normal people can practice too:
This is not vain. Models practice, influencers practice, photographers test angles, and honestly, anyone who looks good in photos probably already knows what side, smile, pose, and angle work for them.
- ♥ test your left side and your right side.
- ♥ Try sitting, standing, leaning, and walking poses.
- ♥ see what happens when the camera is higher or lower.
- ♥ Screenshot poses you like so you remember them later.
- ♥ Practice for ten minutes when no one is watching.
8. highlight what you already love
Figure out which features you like about yourself, and then lean into them. If you love your waist, angle your body to show it. If you love your eyes, look slightly up toward the light. You know your body better than any photographer does, so use that. Nobody has to know you spent a week figuring out your left side is your good side.
confidence shortcut:
before the photo starts, pick one thing you actually like. your eyes, your hair, your outfit, your waist, your smile, anything. it gives your brain something useful to focus on instead of immediately looking for flaws.
♥ Do you love your eyes? Face the light.
♥ Love your waist? Turn your body slightly instead of standing straight on.
♥ Do you love your hair? Let it frame your face or move with you.
♥ Love your outfit? Create a shape with your arms, legs, or posture.
♥ Do you love your smile? Take a few laughing shots before the serious ones.
9. the smile hack
Stop saying cheese. Say “money” or “peas and carrots” instead, and you’ll get a way more natural smile that doesn’t show every tooth in your mouth at once. You can also try pressing your tongue to the roof of your mouth while you smile, which firms up the jaw area and just cleans everything up. Another thing that helps is thinking of something actually funny right before the shot. Even a fake laugh relaxes your face, and then a real smile usually follows right after.
tiny face tip:
Your eyes matter just as much as your mouth. If your mouth is smiling but your eyes look terrified, the whole photo feels off. Breathe, soften your face, then smile.
♥ Say “money” instead of “cheese.”
♥ Try “peas and carrots” for a softer mouth shape.
♥ Press your tongue lightly to the roof of your mouth.
♥ Fake a laugh first if your smile feels forced.
♥ Think of something actually funny right before the shot.
10. what you wear matters
The camera finds and enlarges horizontal stripes, logos, crazy patterns, anything too baggy or too tight, and anything wrinkled or bunching. Stick to colors that complement your skin and hair, and you’ll be ahead. Also check yourself in a photo before the actual shoot, not just in a mirror, because fabric looks different on camera and you want to catch anything weird before it’s too late.
photo outfit check:
Mirrors do not show everything the way a camera does. Take one quick phone photo before you leave so you can catch wrinkles, bunching, weird sleeves, bra straps, see-through fabric, or anything else that will annoy you later.
- ♥ Steam or smooth your clothes before photos.
- ♥ Avoid pieces that bunch when you sit or move.
- ♥ Choose colors that make your skin look fresh.
- ♥ Be careful with busy patterns if the background is already busy.
- ♥ Take a test photo of the outfit, not just a mirror check.
11. lighting is either your best friend or your worst enemy
The flash on your phone is harsh and makes skin look flat and oily. Natural light near a window is always the move. If you have to use flash, bounce it off the ceiling so it spreads out instead of blasting straight at your face. Golden hour is also genuinely magical if you can swing it. That soft warm light right before sunset makes literally everyone look good and does half the editing work for you.
Hold your phone up, turn slowly in a circle, and watch your face on the screen. The spot where your skin looks soft, even, and bright is the spot you want.
- ♥ Face a window instead of standing with your back to it.
- ♥ Avoid harsh overhead lights when you can.
- ♥ Turn off ugly indoor lighting if the window light is enough.
- ♥ Use golden hour for soft, warm, flattering light.
- ♥ Avoid direct flash straight at your face unless that is the look you want.
12. use a background that does something
Most photos are just people standing in front of nothing. Find a spot with something going on behind you, a cool wall, some nature, or a window with good light coming through. It adds a whole other layer to the photo and makes it feel more intentional. You don’t need to travel anywhere interesting either. A good wall in your neighborhood works just fine.
background trick:
Take two steps away from the wall or background if you can. That little bit of space gives the photo more depth and makes it feel more intentional without needing a fancy location.
- ♥ look for pretty walls, stairs, flowers, windows, doors, sidewalks, or greenery.
- ♥ Avoid messy backgrounds that steal attention from you.
- ♥ Use a simple background if your outfit is busy.
- ♥ Use a more interesting background if your outfit is simple.
- ♥ Check the full frame so nothing weird is behind your head.
the real secret
If you don’t feel confident, just fake it. Think about how you want to come across or picture someone you admire and channel that for a second. It sounds so dumb, but it relaxes your body and your face, and that’s genuinely when the best photos happen. And honestly, the more photos you take, the less you care, and the better they get. So just keep going. WDO Photography
Final PRO TIP:
You are not bad at photos, and you probably just have not found your angles, your light, and your easy go-to poses yet. Once you do, taking photos stops feeling like a full emotional event and starts feeling way more normal!!
- ♥ Take more photos than you think you need.
- ♥ Move between shots instead of freezing.
- ♥ Stop judging yourself from one bad angle.
- ♥ Keep the photos that feel like you.
- ♥ Remember that even photogenic people delete a lot of photos.
The quick takeaway:
Good photos are usually not luck. They are angle, light, movement, relaxed hands, a little confidence, and taking enough photos that you actually get options. Once you stop expecting the first photo to be perfect, the whole thing gets easier.
Author: Everything Abode
Welcome to Everything Abode, your daily inspiration for every activity at home!
Our goal is to inspire you to live an elegant and chic lifestyle from the comfort of your home.
We’ll help you express yourself through authentic style, aesthetic beauty, and stylish home decor.
8 Lifestyle Habits That'll Drastically Improve Your Overall Lung Health
12 Skincare Mistakes You're Making (And How to Fix Them)
10 Spices You Need the Second You Move Out (Or Your Food Will Taste Sad)
23 Best Christmas Gifts for Her She'll Swoon Over!
90 Cool Aesthetic Wallpaper Background Ideas
How To Bring Your Skin To Life By Dry Brushing (Plus 6-Min Routine)
Subscribe to Get the Tools That Make My Blog Successful!

When you join my newsletter, I'm going to send you insider advice and tools that I use to grow my blog! I only save the BEST for my email list so don't wait!